|
||||
|
Thursday, June 5
[11:43PM EDT]
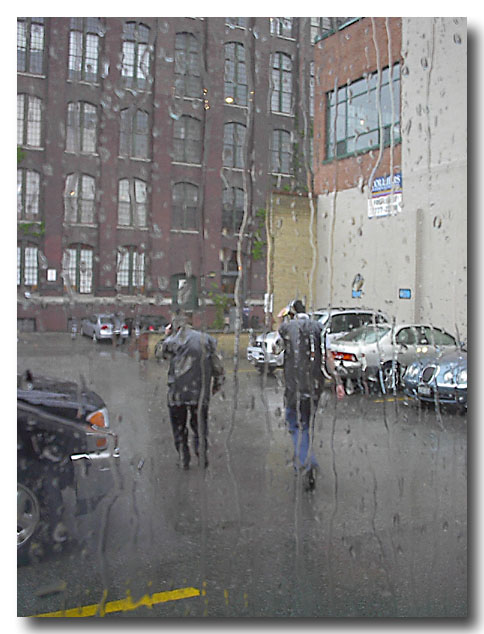 Rain isn't that exciting. At least not as exciting as the fact that I've uploaded this entire posted via w.bloggar. What's so exciting about that you say? Well, w.bloggar requires FTP access to post images to the remote webserver where the blog lives. But because Blogware is completely driven from a database it didn't make sense to provide FTP access to the file system. So we decided to let you FTP directly into the DB. Rain isn't that exciting. At least not as exciting as the fact that I've uploaded this entire posted via w.bloggar. What's so exciting about that you say? Well, w.bloggar requires FTP access to post images to the remote webserver where the blog lives. But because Blogware is completely driven from a database it didn't make sense to provide FTP access to the file system. So we decided to let you FTP directly into the DB.
Which means that I can now post pictures via w.bloggar directly to my blog. That sounds doubleplusgood to me. C | T (9) | # Tuesday, June 3
Saturday, May 31
[08:45AM EDT]
I installed a new template series - "Spaghetti Western" - you're lookin' at it (if you're actually reading this at my blog and not via some RSS feed somewhere ;)
Guile did it. You can access them via your control panel. Have fun, I'm going to get my bicycle tuned up. C | T (52) | # Friday, May 30
Monday, May 26
[11:36PM EDT]
A blogroll is a list of links to blogs that you want your readers to visit for one reason or another (hopefully because you think that the links are worthy of sharing!)
Blogware makes it easy to include a list of links on your page - no HTML required! A few easy steps.
Congrats - you've created an empty blogroll! Now you have to add some links for your visitors to click on! You should now have a screen in front of you that includes the information that you just entered, as well as a new section labelled "URLS". This is where you add your links (we're almost done).
LAST STEP!!!This is the easiest one. Click on the "Blogrolls" link in the left hand navigation pane of your control panel and choose the Blogroll that you just created as your default Blogroll. Once you've picked one, click the "Update Now" button.  You're done!!!When you next visit your Blogware, you should have a shiny new blogroll on your front page. If you don't just hit "Refresh" in your browser to update your cache. If it still doesn't work, drop me a note! C | T (31) | # Sunday, May 25
[01:11PM EDT]
I've uploaded a new template series made by Guile called "Elegance" and uploaded a fix to Steel Grey - All available from your Template Manager in the control panel.
Both of these were sent to me a few weeks back :( - I'll get my act together sooner or later. C | T (28) | #
[01:07PM EDT]
I've added a few new Global Template Variables that you can toss anywhere in your blog posts or templates.
{{sys.ross}} - 
{{sys.bwpv1}} - 
{{sys.bwpv2}} - 
{{sys.sidesmiley}} - The Blogware stickers were made using a really cool button maker that is making the rounds. The smiley is actually a QBullet - be sure to check their terms of use to make sure that you are using it properly. I've sent the good folks at Matterhorn a message explaining to them what I want to use these for - if the response is positive, I will upload the entire collection as GTVs... C | T (318) | # Saturday, May 24
[11:31PM EDT]
With bubble control in the picture, readers will have to start dealing with a less than flat blog space - moving back to a much more hierarchical structure where everything *isn't* always on the main page.
I'm beginning to see some really great applications coming together that will really start to give Elliot's "Readers Movement" some more cred, muscle and capability within blogdom - much of it kickstarted or facilitated by blogware. Neat stuff. You'll definitely see some more on this at some point. Vivent longtemps le mouvement de lecteurs!1 1Ummm...yeah, that was via babelfish... C (2) | T (88) | #
[11:38AM EDT]
Lots of steps here - but only when you are starting from scratch. The results are worth it - especially if you take a lot of pictures and want to share them with your friends and family.
There are two broad steps for creating a photoblog. First is to create a photoalbum to hold your pictures, and the second is to actually upload and describe the pictures that you want to share.
You've just created a photoalbum (yay!). Next steps is to put some pictures into your new photoblog. These steps are going to get easier, but for now;
That's it! If you encountered no errors, you should be able to visit your blog, select the photoalbum that you create and view the pictures that you uploaded. There are a ton of other options and features that we didn't touch on, like batch uploads, but these will become self-apparent to you as you use the system - and our documentation gets better. In the meantime, drop me a note if you have any questions. C (4) | T (45) | # |
Blogroll 2.0
Make a Donation to the Tour For Kids!
Twitterings
Search
 "Random Bytes" is a produced for and by Ross Rader. Everything else is just a happy byproduct. The views expressed here belong to me and not my employer.. Contact Me
Feel free to use my contact information to get in touch for work related items. email: ross@tucows.com tel. +1.4165385492 cel. +1.4168288783 MSN. ross@tucows.com Local Topics
Recent Articles
Recent Comments
Recent Visitors
jamessmithforum - Tue 15 Dec 2009 03:21 AM EST
ahmed100 - Tue 08 Dec 2009 06:49 AM EST
Andrew C - Fri 04 Dec 2009 09:57 PM EST
maxvoice - Mon 30 Nov 2009 06:33 AM EST
ahmed1212 - Thu 19 Nov 2009 09:20 PM EST
Login
|
|||
|
||||

